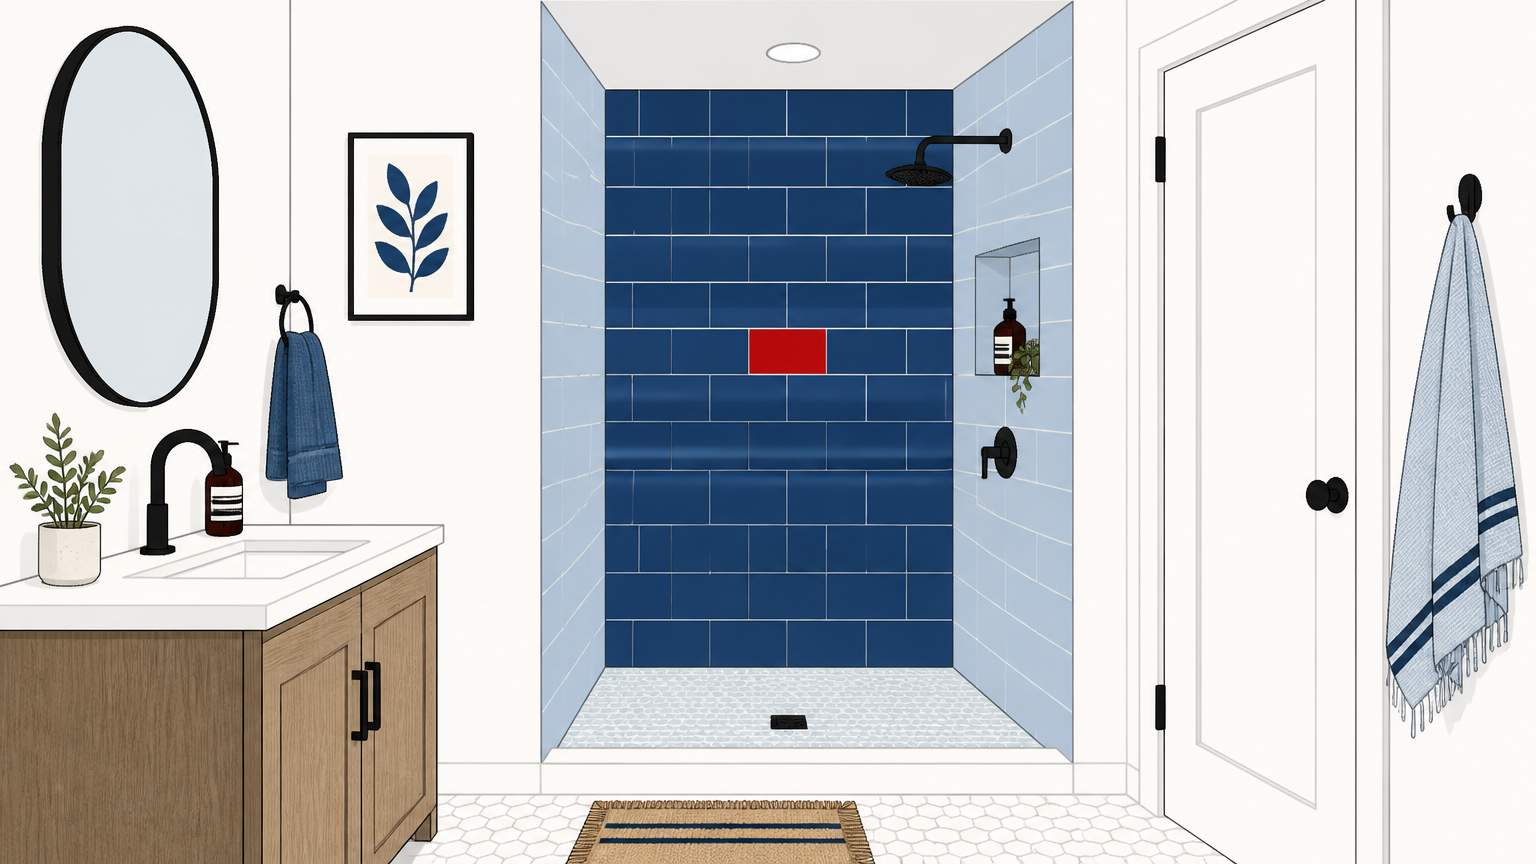
Creating a tiled shower in a compact area like a 15-square-foot slab may feel overwhelming, but breaking it down into clear stages helps manage the process. A recent post from Reddit user Deacon_777 demonstrates that a homeowner can successfully install a drop-in plastic pan, backer board, and porcelain tiles in just one weekend, while also fitting a few quick fixes from their honey-do list.
To begin, it’s essential to ensure that the slab is level. The installer applied a leveling compound to any low areas and placed the drop-in pan on a solid base. In this case, the homeowner chose a 60-by-32-inch Swanstone pan that sits flush once leveled. After securing the pan, the walls were framed. Any misaligned studs were straightened using sister studs and cardboard shims, ensuring the surface for the backer board was plumb.
Proper installation of the backer board is crucial. The installer used GOBOARD, a glass-mat cement board, which was glued to the studs with a thin-set that also leveled any remaining gaps. The wet-shimming method helped keep the board flat, and the joints were sealed with fiberglass mesh tape. Once the board was installed, the next step was applying a waterproofing membrane across the entire substrate, extending at least six inches above the height of the finished tiles. This membrane serves as the first line of defense against water intrusion in a slab foundation.
The next phase is to install the tile surround. The homeowner positioned a Schluter niche before tiling, allowing it to integrate with the waterproofing membrane. Despite a one-inch misalignment, the niche was still installed as it sits behind the membrane and maintains the seal. The thin-set used for the tiles was a polymer-modified thin-set, like Schluter All-Set, which provides stronger adhesion and flexibility than standard mortar. This critical choice diminishes the chances of bond failure that could result in leaks.
Tiling progresses with porcelain tiles cut to fit. A 1/2-by-1/2-inch trowel accommodates uneven walls, and a ledger board ensures the first row remains straight. After the tiles set, grout is applied and then sealed once cured. The final touch is a bead of 100% silicone around the niche and any gaps to create a seamless waterproof barrier. The homeowner's cleanup included using a plastic spatula and a soldering pencil to remove thin-set from spacers—a step that many DIYers neglect.
Along with the shower, the project fits well into a larger honey-do list of tasks. While finishing the shower, a homeowner could also caulk around windows exterior, install weatherstripping on interior doors, or replace a showerhead. They could install new door handles or adjust patio door rollers in the same weekend, giving the house an updated appearance without the need for a contractor.
When to consult a licensed pro? If the drain line is faulty, the slab has major cracks, or the shower pan needs a custom cut, a licensed plumber or tile professional should be called. Structural or code-critical issues, such as faulty drain connections or improper framing, should also be addressed by a licensed contractor. However, a skilled homeowner can manage the slab leveling, backer board, waterproofing, and tiling safely and economically.
.svg)
.svg)

.svg)
