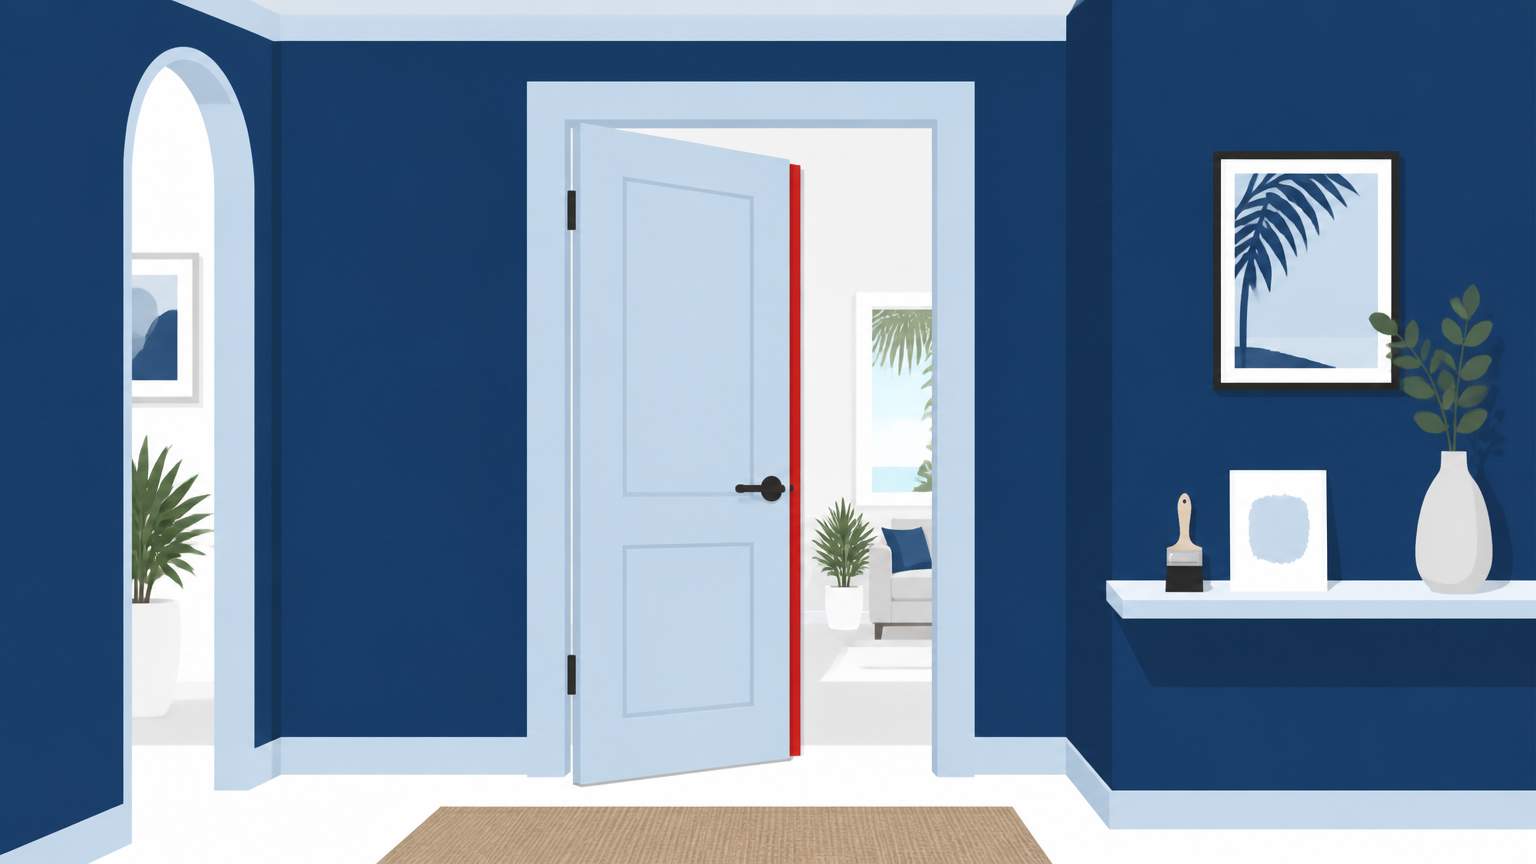
Interior doors in Florida face a unique challenge due to the state’s hot and humid climate, which can cause air to seep through even the smallest cracks. When the frame or hinges of a door allow warm air to escape, it results in the HVAC system working harder, increased indoor humidity, and a decrease in overall energy efficiency. Installing weatherstripping is a simple and cost-effective solution that can reduce unwanted airflow by approximately 30%, ensuring that cool air remains indoors.
Weatherstripping kits are typically priced between $5 and $25 per door, making them affordable for most homeowners. An experienced DIYer can complete the installation in about 15 to 30 minutes. This quick fix not only saves on cooling bills but also enhances comfort by reducing indoor humidity levels.
To start, it’s important to select a strip type that matches the door’s function and materials. Foam tape is suitable for smooth, flat surfaces and works well on standard wood or metal frames. For doors that swing on hinges or have a gap at the bottom, V‑strip or door sweep options are more appropriate as they seal the door’s entire perimeter. If the door already has a magnetic or rubber seal, a compatible door strip can be added without removing any door hardware handles.
Carefully measure the width and height of the door frame, taking note of any irregularities like warped jambs or uneven hinges. A door that has been painted or has decorative trim may need a strip that can be cut to fit around the trim without leaving visible gaps. If the door opens into a hallway or a room with a high ceiling, a longer strip may be necessary to cover the entire perimeter. Additionally, consider the material's resistance to Florida’s humidity; silicone-based strips tend to remain flexible longer than those made of pure foam.
First, gather the necessary tools: a utility knife, measuring tape, scissors, a screwdriver, and a caulking gun if you plan to seal the edges. Clean the door frame with a mild detergent to remove dust and grease; this ensures the adhesive on the strip attaches properly. If you need to remove the door for a door and trim installation, be cautious to keep the trim intact for reattachment later.
Measure and cut the weatherstripping to the appropriate length, allowing for a small excess to adjust for fit. Slide the strip into the correct position, pressing firmly against the jamb. For strips that require adhesive backing, peel off the protective film and press the strip onto the frame, smoothing out any air bubbles. If your door installation hardware includes a door sweep, attach it to the bottom of the door before re-hanging it on its hinges. Check the door’s operation; it should close snugly without putting strain on the hinges or frame.
After the installation, inspect the seal for gaps or uneven areas. A tiny gap can often be filled with a dab of silicone caulk for added reinforcement. Finally, open and close the door a few times to ensure the strip remains secure and does not obstruct the door’s movement. Regularly check the strip for wear, especially after heavy use or storms, and replace it if it becomes brittle or loses its adhesive strength.
By following these steps, Florida homeowners can effectively seal their interior doors, reduce indoor humidity, and enjoy a more comfortable living space without needing to hire a licensed contractor.
.svg)
.svg)

.svg)
