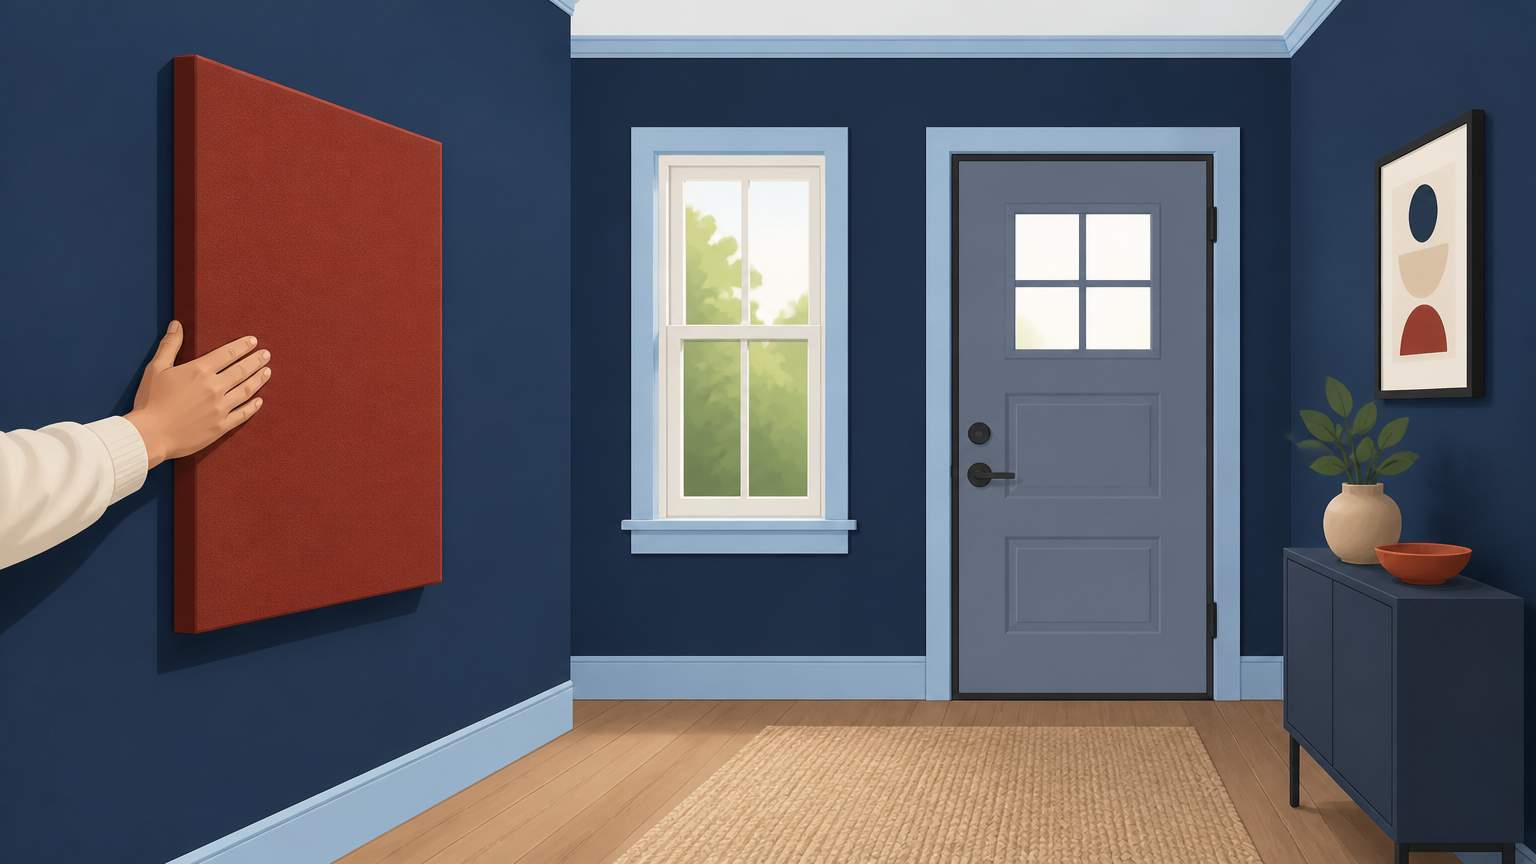
Insulating a Florida garage with foil‑faced rigid foam can increase the wall R‑value by four to five points while creating a barrier against air leaks. The foil side of the foam should face the interior, serving as a vapor retarder to prevent moisture from moving into the wall cavity. By using tape or spray foam to seal the seams, you can create an airtight layer that helps keep the garage cooler in the summer and warmer in the winter.
The first step is to choose the foam board's core material. Polyisocyanurate (polyiso) typically has a higher R‑value per inch compared to expanded polystyrene (EPS) and maintains its rating above 40 °F, which is beneficial in Florida. However, EPS boards are lighter and easier to manage. To comply with vapor retarding requirements, EPS must be paired with an additional vapor-retarding layer. Regardless of the chosen material, the foil side must face the inside of the garage to provide a Class I vapor barrier against humidity. When buying product, select boards with a nominal R‑value of at least 4.2 per inch and a perm rating below 0.05 perms. Compressing the boards during delivery could cut their R‑value by up to 10 %.
Next, assess how much existing insulation is in the wall. If the studs are uninsulated, a 1‑inch foam board will provide about R‑4. Adding a 3‑inch layer of mineral wool or fiberglass between the studs can maximize the overall wall R‑value. It's best if the foam has at least a 1-inch air gap to the drywall as well, which allows for moisture drying to the interior and avoids mold.
Common mistakes can lead to moisture issues. One error is putting the foil side facing the studs rather than the conditioned space. This mistakes the vapor retarding function, allowing moisture to get trapped in the wall cavity, and potentially result in mold. Always place the foil side inwards.
Another frequent error is using a tape that isn’t rated for foil surfaces to seal seams. Either foil‑rated tape or spray foam must be used to ensure a continuous barrier. When installing the foam, avoid compressing it; mechanical fasteners should hold it in place.
If the garage isn’t vented, choose a vapor-permeable finish. Drywall works well, but a solid, sealed finish might trap moisture. Using a dehumidifier in the garage can help keep humidity low, especially in wet seasons. You can finish the walls with simple molding or window door installation details. Replacing or adding window door handles and door hinges can improve comfort and aesthetics.
You can also address cosmetic touches after installing the foam and drywall, such as repair doors, you doorspatch drywall hole, or cost to replace wood trim around windows. If you decide to replace a door with a new door to garage, or plan to install a pet door for storm door installation, make sure the new opening lines up with the foam layer to maintain insulation continuity. Larger projects like install screen door on sliding door or windows to replace may be better suited for professional help.
In short, adding foil‑faced rigid foam to the inside of a Florida garage is doable for a homeowner without hiring a licensed contractor. Following the guidelines for board selection, orientation, seam sealing, and air gap maintenance can yield a more comfortable garage.
.svg)
.svg)

.svg)
