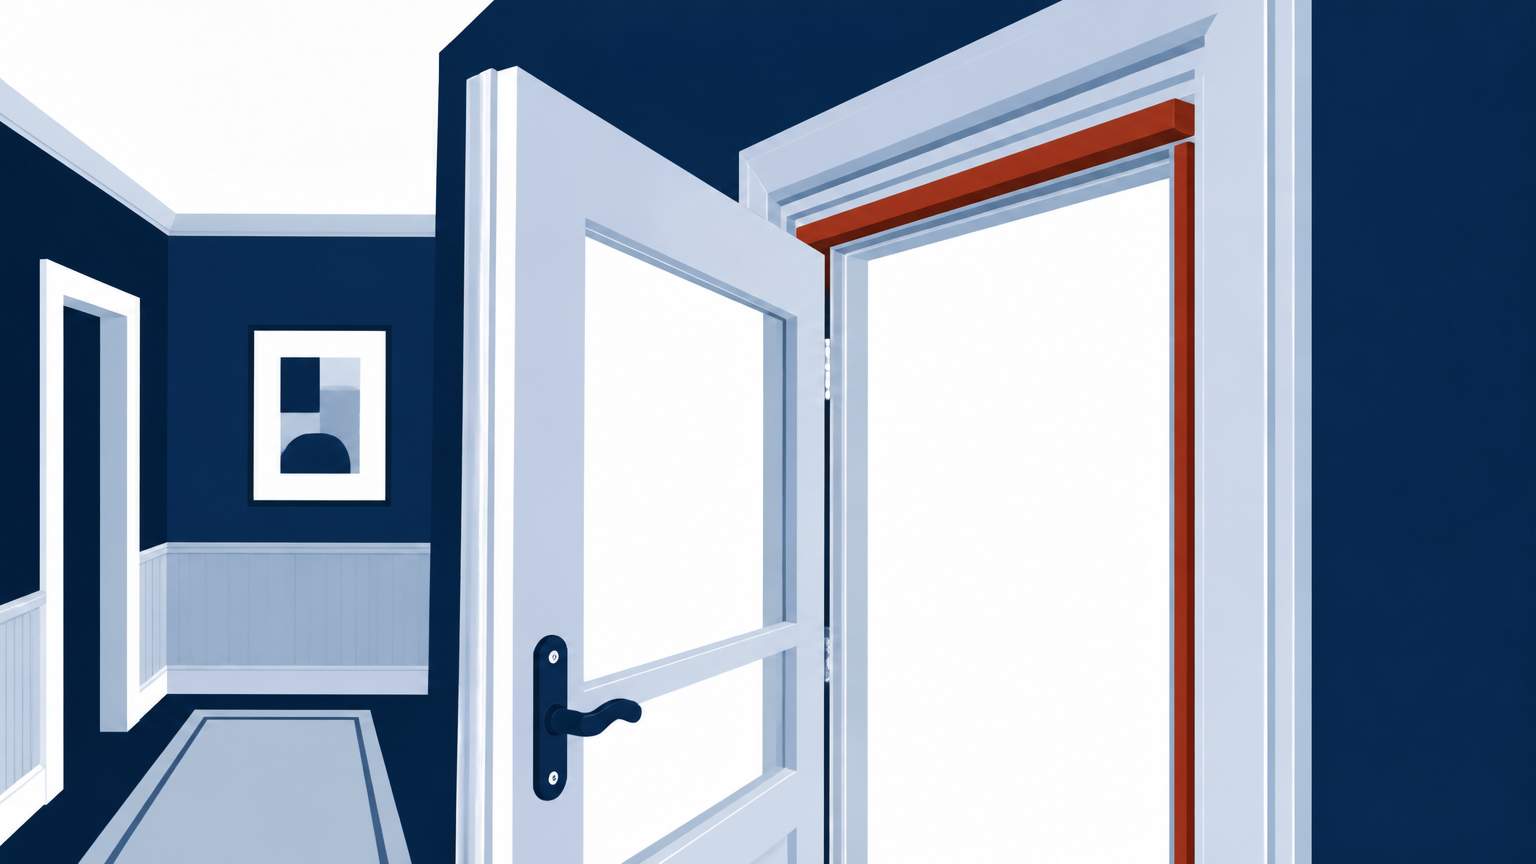
The weatherstripping should be applied to the hinge side of the storm door so it can create a seal when the door is closed. Open the door fully to access the jamb. Cut the strip to fit the jamb’s height; align it along the edge of the door frame, pressing it firmly against the jamb. For an even tighter seal, add a bead of caulking.
Once the weatherstripping is in place, close the door and check for drafts. If air is seeping in, adjust the strip’s position until the seal is tight. You can also test for proper installation by placing your hand near the door frame; if you feel a draft, there may be gaps that need to be sealed with additional adhesive or caulking.
With the right weatherstripping installed, your storm door should provide a reliable barrier against drafts, helping to maintain the warmth of your home through winter. This simple upgrade can improve comfort levels and reduce heating costs.
Yes, installing weatherstripping is a straightforward DIY project that most homeowners can complete in under an hour. With just a few tools and materials, you can effectively seal your storm door without hiring a professional.
.svg)
.svg)

.svg)
