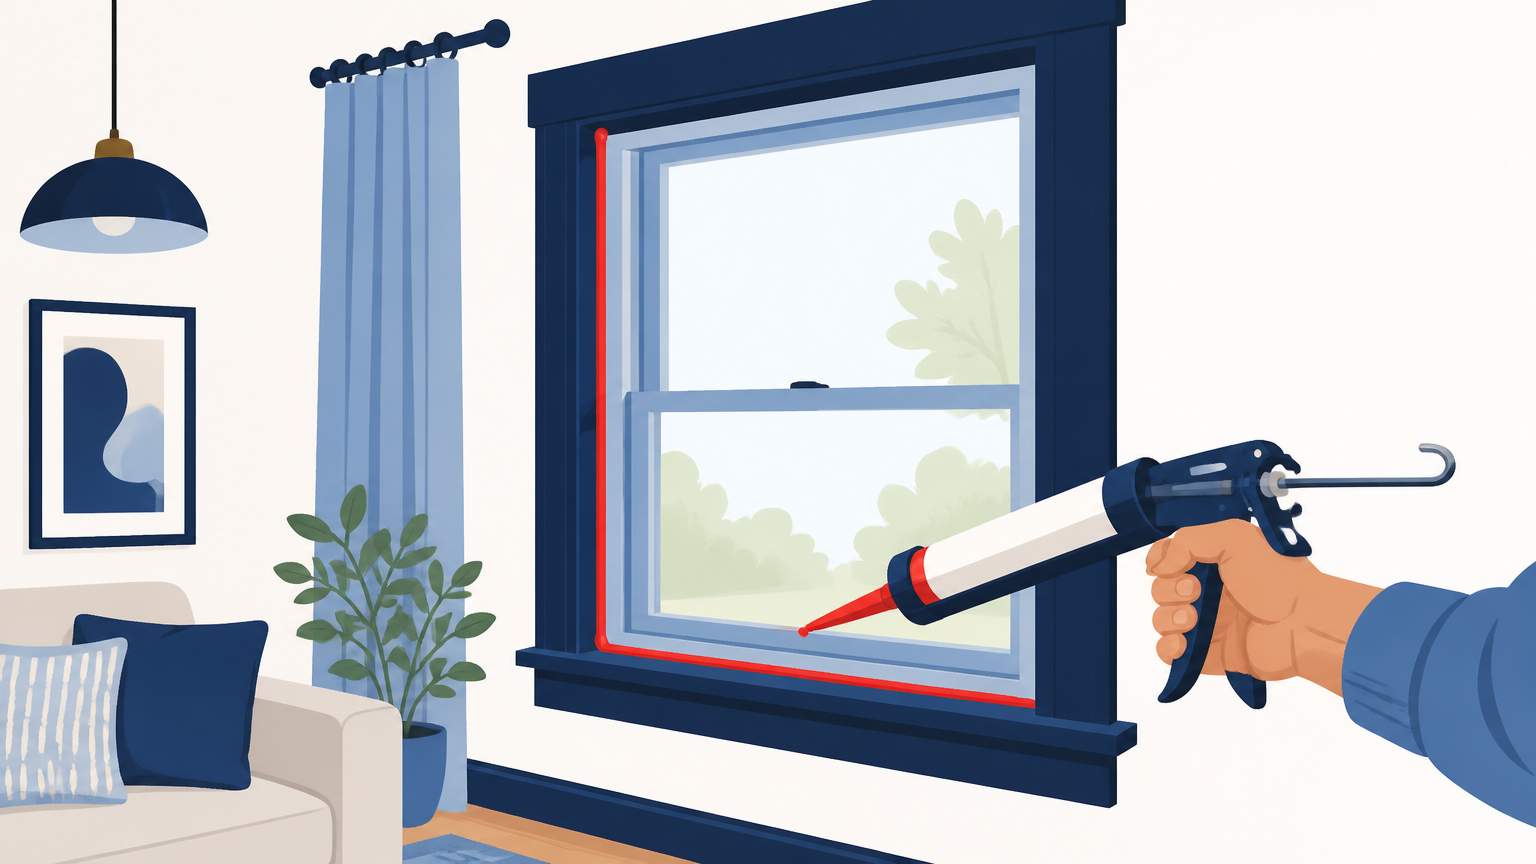
When the summer heat hits, a drafty window can quickly turn a comfortable room into a melting pot. This is especially true in Florida, where shifts in humidity and temperature are common. Old or cracked caulk around window frames can let precious conditioned air escape while allowing moisture to seep in, risking damage to trim and paint. By replacing this caulk, you can keep your energy bills in check—up to a 15% reduction is possible—and protect your interior finishes.
Replacing caulk is relatively easy: clean the old sealant, insert a backer rod, apply a flexible silicone sealant, and finish with painter’s tape for a neat look. While the job is definitely a home improvement task, it should be manageable for someone with basic DIY skills or a good handyman. However, if you find signs of rot, warped frames, or large gaps that exceed the caulk line, a licensed contractor may be necessary.
In Florida homes, drafts around windows are one of the largest sources of energy loss. When conditioned air leaks out, the HVAC system has to work harder to maintain temperatures, which in turn drives up electricity bills. Additionally, warm, humid air entering through gaps condenses on cooler surfaces, which can lead to mold and wood rot. Re-caulking restores the air-sealing integrity of the window assembly, keeping the cool air inside and the hot, moist air outside.
Research on building science indicates that a continuous interior air barrier, such as a properly applied silicone sealant, keeps window frames above the dew point, preventing condensation. In mixed-climate zones like Florida, a vapor-permeable sealant allows walls to dry inward if moisture enters, avoiding buildup behind siding. This results in improved indoor air quality and lower maintenance costs over time.
Proper preparation is key to achieving a clean and durable seal. Remove the old caulk with a utility knife or special caulk removal tool, then wipe the area with a damp cloth to get rid of dust and grease. Insert a backer rod—a foam or rubber rod that fills the gap up to the window frame's top. This will prevent the sealant from sagging and gives you a smooth surface for the new caulk.
Choose a high-performance silicone-based sealant like DAP Dynaflex 230 or a silyl-terminated polymer. Such products remain flexible, resist UV rays, and allow the wall to dry inward. Using a caulk gun, lay a continuous bead of sealant along the joint, smoothing it out with a wet finger or a caulking tool. Apply painter’s tape to either side of the bead, pressing it in place, and remove it while the sealant is still tacky for a professional finish.
After the sealant cures, usually in 24 hours, take the tape off and inspect the joint. A proper bead should be smooth and free of gaps or bubbles. If you see any imperfections, just touch them up with a small amount of sealant and smooth it out again.
Replacing caulking around windows is a simple, low-risk project that any homeowner can do. It enhances comfort, saves energy, and protects finishes without needing a pro. However, if you run into structural issues or signs of rot, contacting someone licensed is advisable; such issues extend beyond basic caulking repairs.
.svg)
.svg)

.svg)
