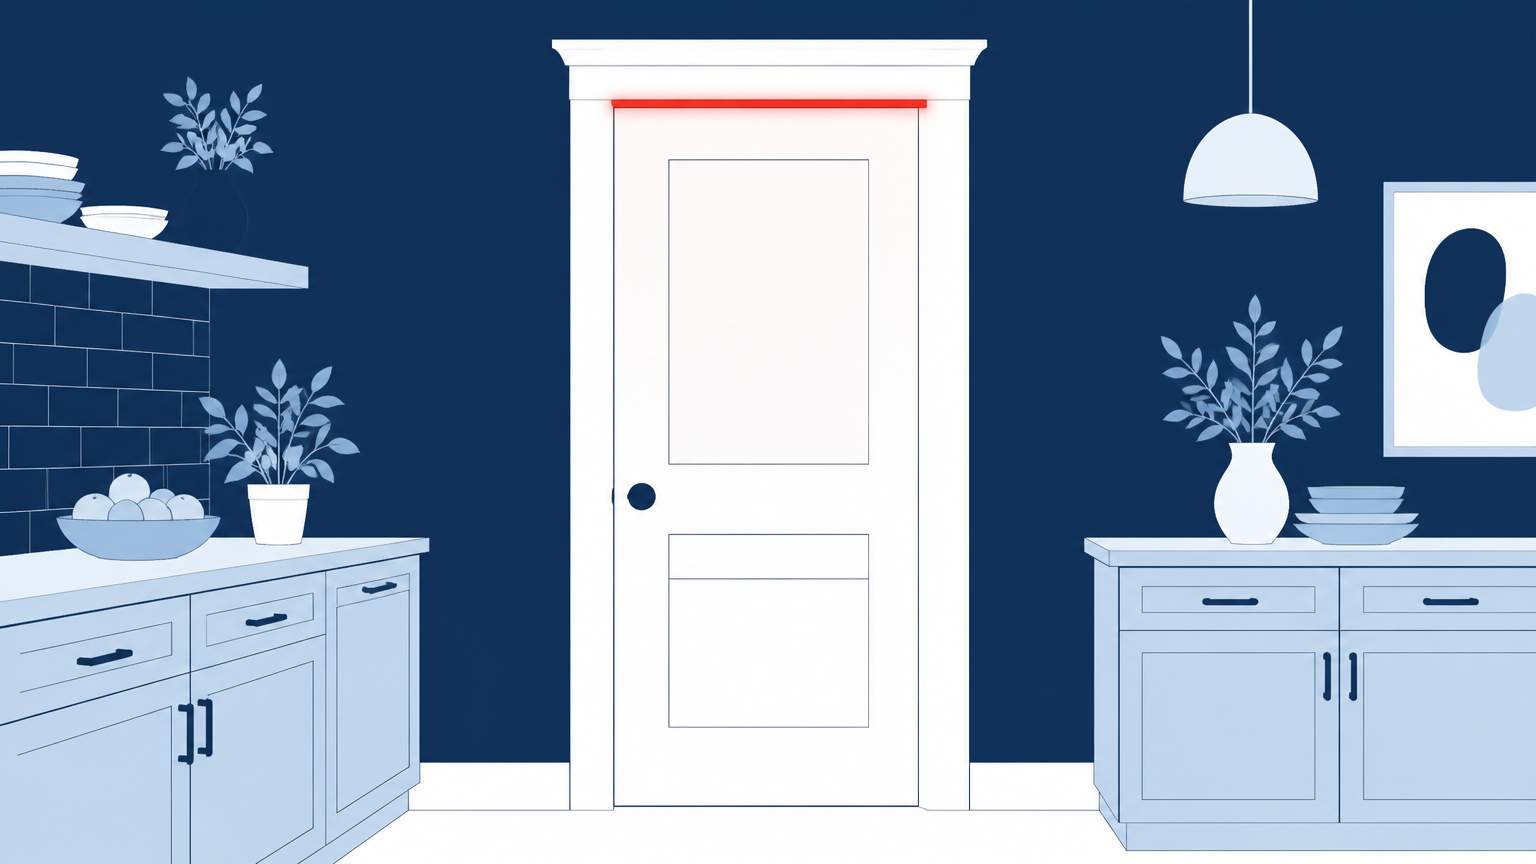
A pantry door can serve not only as a storage barrier but also as an intentional design element that enhances a kitchen and adds to its resale value. Apply the right brand of LED strip light to the important spots behind the door; you’ll appreciate the soft glow of a moisture-resistant LED strip in the humid Florida climate. The strip will add visibility for reaching up and down the shelves of everything from grains to cans and jars. With clean trim work, the look will be stylish as well as effective.
Before you begin your pantry lighting project, choose a strip that fits your needs. Look for a moisture-resistant LED strip rated for indoor use with a low-VOC coating. The design should be flexible enough to fit the corners of your door frame. Its color temperature should match your existing kitchen colors. A 5-meter strip with a 12-V DC power supply is typically appropriate for a standard pantry door. Make sure to steer clear of high-gloss jewel-tone paints, too. Use a matte finish for the pantries: they don’t highlight brush marks, but they’ll still hide mildew.
For supplies, you’ll need the LED strip kit in addition to basic hand tools. Each LED strip kit should include an LED strip, a plug-in adapter, and adhesive backing.
Knowing which tools will help you make the light fit is essential. A small drill and 1/4-inch bit, a level, a measuring tape, a utility knife, and a screwdriver will make the project easier. The proper size baseboard (1 inch is great) or another molding to your design tastes should be enough to hide the strip’s power cord.
Start by cleaning the interior surface of the pantry door where you'll attach the LED strip. Use a mild detergent; rinse well and let it air dry. Cut the LED strip to fit the shapes around the top edge of the frame. Remove the adhesive backing and press it firmly along the door frame, ensuring it's flat against the surface. Tuck the plug-in adapter behind the trim. You can hide the cord with a notch in the baseboard, before connecting it to your outlet. You should also test the lights. Check the connections and ensure the strips are seated if your strip flickers.
For the trim, measure the width of the door frame and cut enough to fit inside the frame for a livable trim look. Use a small amount of wood glue and finish nails to keep the trim in place. Leave a tiny gap so the cord will clear it. You can make easy paint touch up walls afterward.
The hardest part of this project may be the relative endurance of your finished install against Florida white wall humidity. You’ll want smooth finishes inside your door as it hangs. A low-VOC cleaning solution and paint on the door and trim portions of your installation may help to keep the moisture out. When set, applying a thin top coat of sealant on wood will also help. Check the LED strip's adhesive about a month after installation. If any rises are planned, add a new adhesive strip to keep the kit in place. If top mount screws subway themselves from oil, it may be an indication of moisture or an unbalanced bracket. Both should fix the need of any subsequent tasks.
.svg)
.svg)

.svg)
