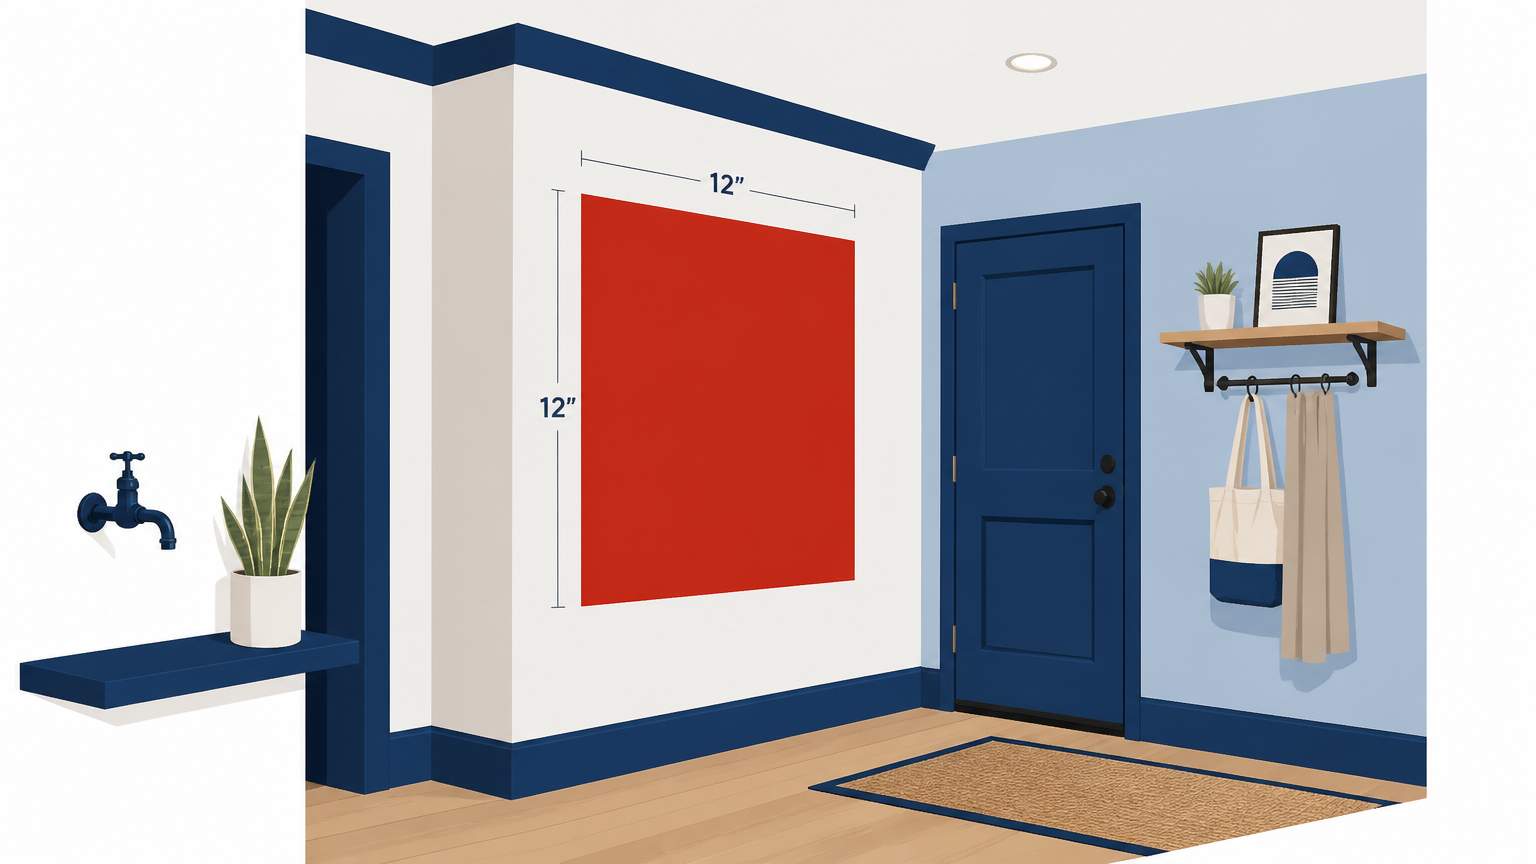
When a plumbing job leaves a hole in your wall measuring 12 inches by 12 inches, the first step as a homeowner is to confirm the plumbing work is fully completed and there’s no moisture in the wall cavity. In Florida, the heat and humidity can worsen mold issues from trapped moisture, enabling rapid corrosion of nearby door hardware like hinges and pull knobs. Following a careful, step-by-step process helps to ensure the repair doesn’t become a bigger problem.
The best way to check is to use a pin-type moisture meter. Readings below 15% moisture content or less than 1% by weight for the material indicate that the cavity is dry enough for a patch. If you see higher values, further drying will be needed. You can make small holes at the bottom edge of the cut to help speed things up by running high-velocity fans and a dehumidifier for 24–72 hours. Check the readings daily; once they stabilize and match the levels of the surrounding wall, it is safe to close the cavity. The IICRC S520 standards for professional remediation require moisture verification before patching to avoid a mold-growing incubator behind the drywall.
Some door hardware, including hinges, pull knobs, and screen door catches, are often in close proximity to the cut. Moisture kept behind a new patch often causes these components to corrode, which can lead to squeaky doors and problems opening and shutting them. Before you put the drywall in place, check the hardware for dampness or signs of corrosion. If it's damaged, it should be replaced before closing the wall; if not, a light coat of waterproof sealant on the metal parts will help. Ventilating the area while the patch dries protects the hardware and extends its life.
A permanent patch will create a more seamless appearance in a room. To install one, lay scrap drywall as backing, then attach a new square of drywall that measures 12 inches by 12 inches. Secure it with mesh tape and top with joint compound in thin, feathered coats, sanding between layers until surface is level and texture matches the wall. Prime and paint the area.
Consider using an access panel if the wall is in a low-visibility location or you anticipate future plumbing work. While it is less aesthetically pleasing than a smooth patch, it offers easier access later on if repairs are needed.
Patching up your wall involves four basic steps: confirming the plumbing job is done, ensuring the cavity is dry using a moisture meter, protecting nearby door hardware from corrosion, and using the correct type of patch. Following these steps gives you the best chance of avoiding future mold and problems with the door hardware while saving money on professional labor.
.svg)
.svg)

.svg)
