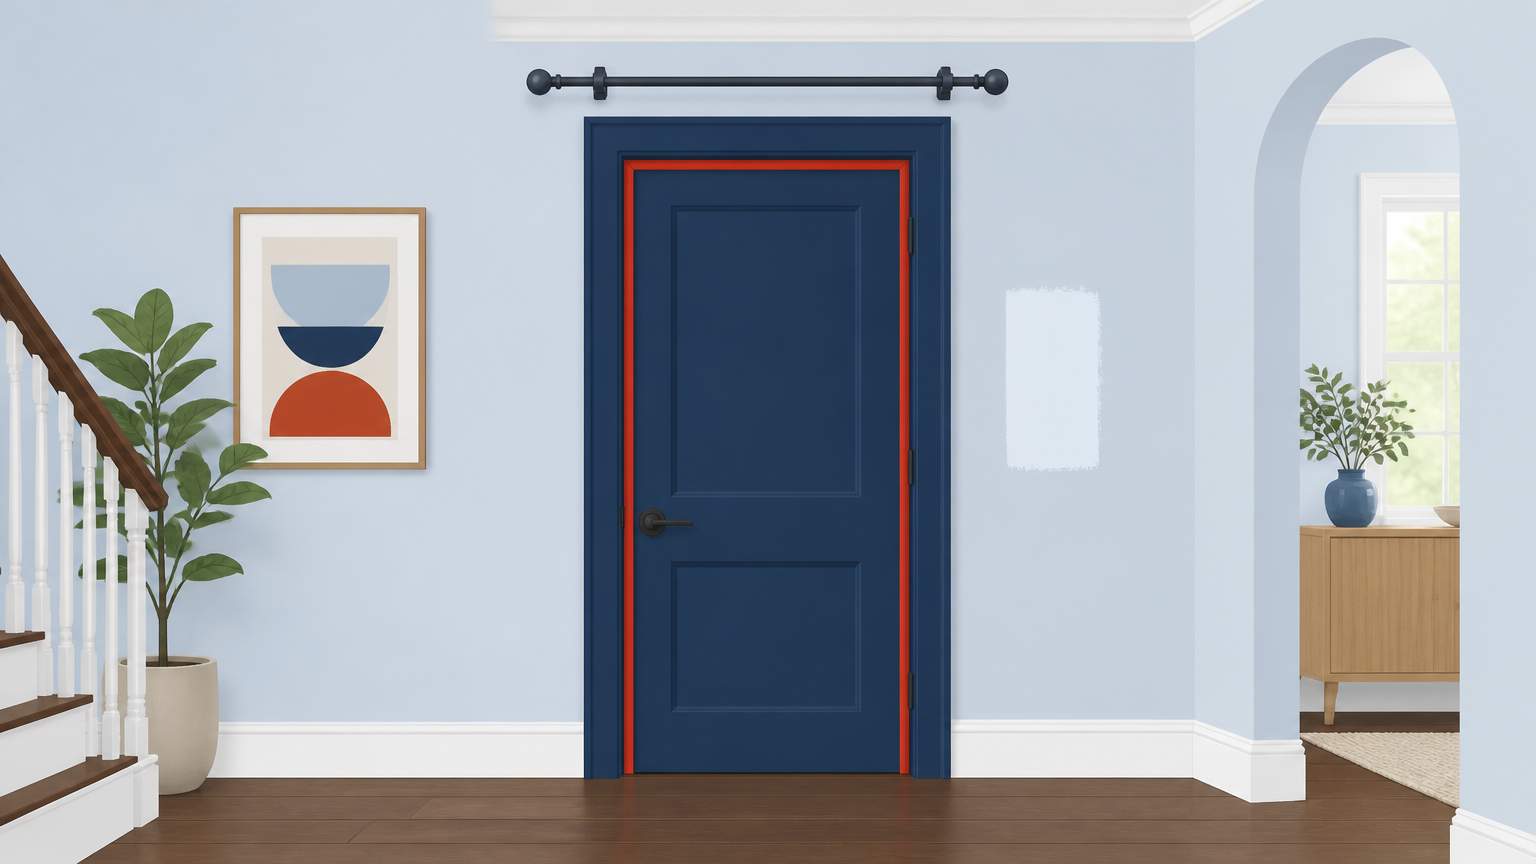
Installing new interior door trim can prevent cold air and rain from entering the house. With Florida's wet climate, even a small gap can lead to mold growth and damaged wood. Placing a fresh layer of trim helps the door seal better against drafts and moisture. It also enhances the door's appearance.
While the task requires some attention to detail, it's straightforward for someone with basic tool access. You can replace old trim, add new molding, and even install a fresh door sweep or handle—without hiring a contractor.
Having the right tools is the first step to success. A miter saw or a handsaw with a miter box is required for cutting angles. A drill or a nail gun also speeds things up. You should have a level to ensure the trim is straight, and a utility knife for cutting excess trim. For materials, 1/2‑inch MDF or pine is typical. You need wood filler, a caulk gun, a water-resistant caulk, and a door sweep kit. All of these items can be found at a local Home Depot or a similar retailer.
Choose trim that matches your decor or complements the door style. If the door frame is bent or damaged, you may need to perform a quick door wood repair before you start. This helps to create a level surface that ensures even gaps for the seal.
Begin by measuring the perimeter of the door. Cut the trim pieces to length, with the top piece cut at a 45-degree angle. Use straight cuts for the sides. Attach the trim using finish nails or a nail gun—this keeps the nails hidden.
After the trim is attached, fill any nail holes with wood filler. Sand the filled holes smooth after it dries. Apply water-resistant caulk where the trim meets the wall to seal the area and prevent moisture from getting in. Wait for the caulk to cure as directed on the packaging before painting or staining the trim. One coat of paint or stain will protect the wood and enhance its appearance.
For a new handle or to replace a lock, install it after finishing the trim. This part can be done quickly with a screwdriver and a few screws.
A door sweep is a strip of rubber or brush that attaches to the bottom of the door. It helps block drafts and keeps water from seeping under the door. Measure the width of the door and cut the sweep accordingly. Most sweep kits come with a mounting bracket that slides onto the bottom edge. Secure it with screws, then attach the sweep to the bracket.
Installing a door sweep is helpful in Florida, where heavy rain can sometimes force water under doors that don't seal well. It also prevents dust and debris from entering the home.
If the door frame is warped or damaged, the trim requires significant repair, or there are complex angles to cut, a licensed contractor may be necessary. But most homeowners using these steps can manage the job with some time and basic tools. For structural issues or custom designs, professional help will give a more precise and durable result.
.svg)
.svg)

.svg)
