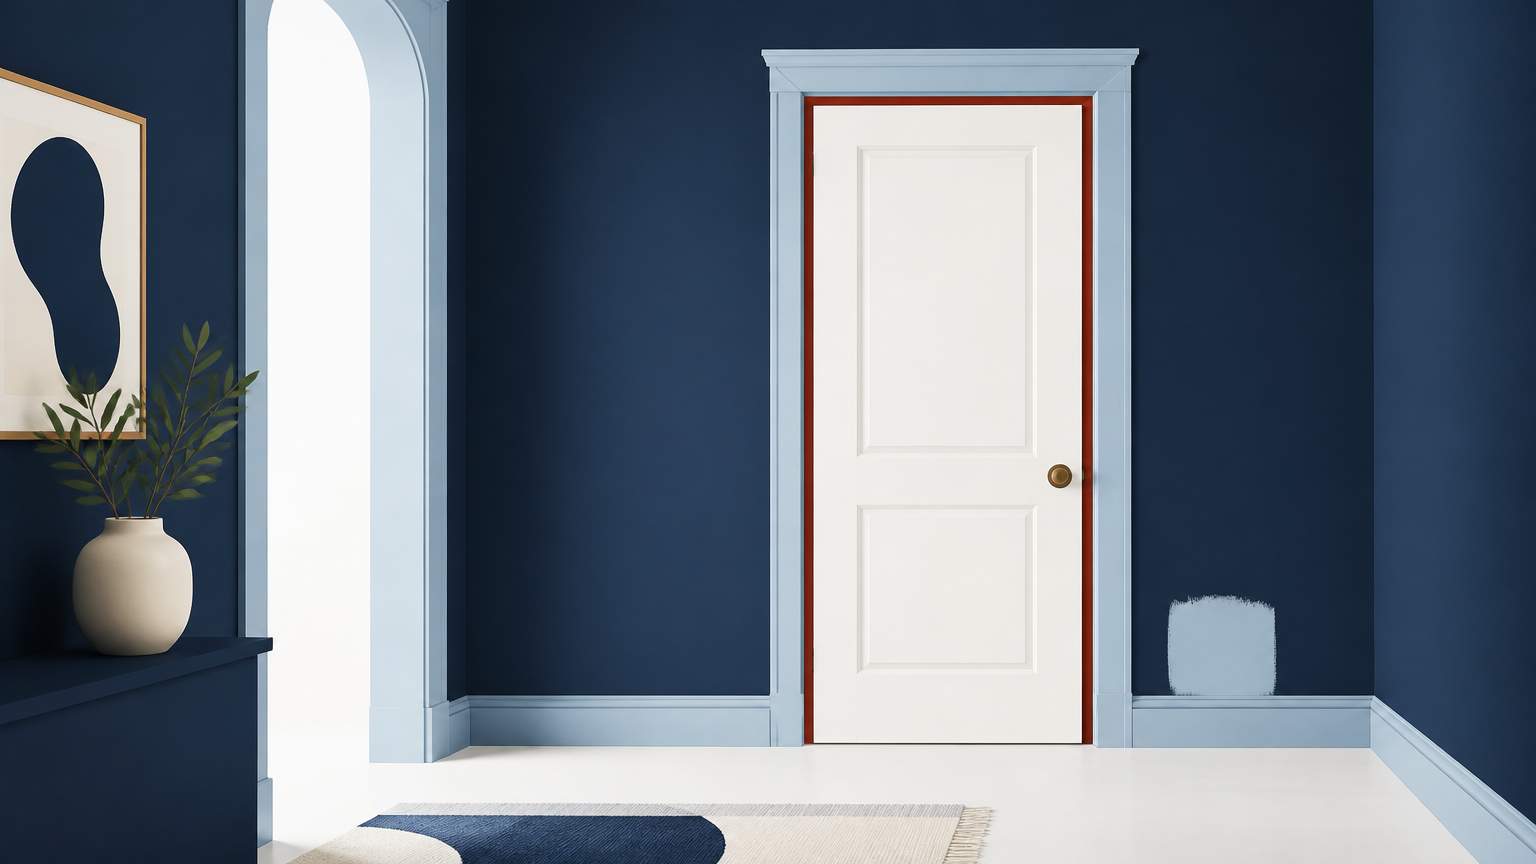
Sometimes, drafts seeping into your home through an interior door can chill it more than desired and lead to higher cooling costs. A quick and easy way to fix this is with weatherstripping placed along the door jamb. It also protects your home from cold air and, if you use reclaimed wood for the trim, breathes rustic character into it.
Start by checking the width of the space between the door and the frame. For Florida's humid climate, choose a strip that compresses to about a quarter-inch when the door is closed to keep moisture and air inside. Consider foam strips as affordable and easy to cut, but they do soften when the humidity is high. Rubber or silicone strips keep their shape and resist mold, making them a better long-term option. When you select a strip, look for a type that has removable adhesive so that you can adjust its placement easily. A narrow, 1-inch wide strip will usually fit standard door jambs without causing a bulkiness.
After you’ve settled on a strip, cut it to the proper length with a utility knife. If you want a decorative touch, cut the ends with a small saw or a utility knife to create a polished edge. Apply the strip to the jamb, pressing firmly to attach it to the wood. Close the door a few times; the strip should compress evenly, leaving a snug seal.
After the weatherstripping is installed, you can cover it with the reclaimed wood trim. This step is optional but can help conceal the adhesive edge and provide a polished finish. Begin by measuring both the height and width of the door jamb. Use a miter saw or handsaw to cut the trim to the correct size, ensuring the cuts are 45 degrees for a neater joint. Lightly sand the edges of the trim to smooth out any splinters.
Once ready, put a thin layer of wood glue on the back of the wood trim. Position it on the door jamb beneath the weatherstripping. Use a small hammer and rubber mallet to tap the trim into place and avoid damage. After gluing it on, clamp the trim or use a small weight to hold it down for a few minutes while it dries. Once the glue sets up, wipe any excess with a damp cloth. You can also finish it with a light stain or clear coat that matches your door.
This simple combination of weatherstripping and reclaimed wood is an environmentally friendly way to improve energy efficiency, using materials that might otherwise go to waste. It also has the added benefit of offering history to the door, as the wood can come from local demolition sites, pallet suppliers, or community woodworkers.
If the door's jamb has warped, the gap exceeds ½ inch, or is damaged, you may need to replace it and then install weatherstripping. Also, if you want to switch out a door knob or lock for a smart lock, drilling new holes or adjusting the hardware might require a licensed electrician or door-hardware specialist. However, for most homeowners, putting this type of weatherstrip on and adding the reclaimed trim is an accessible DIY project that can be finished in a few hours with basic hand tools.
.svg)
.svg)

.svg)
